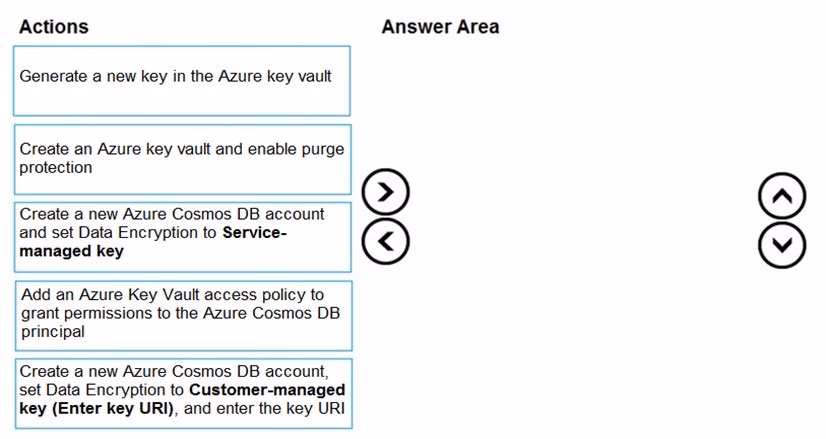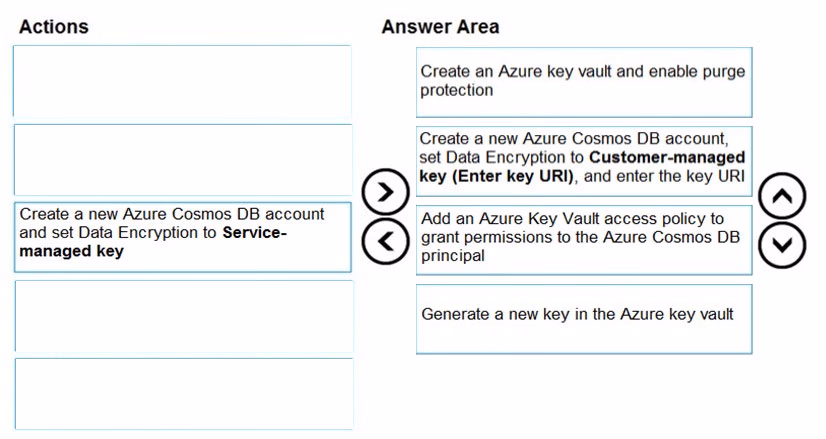
Step 1: Create an Azure key vault and enable purge protection
Using customer-managed keys with Azure Cosmos DB requires you to set two properties on the Azure Key Vault instance that you plan to use to host your encryption keys: Soft Delete and Purge Protection.
Step 2: Create a new Azure Cosmos DB account, set Data Encryption to Customer-managed Key (Enter key URI), and enter the key URI
Data stored in your Azure Cosmos account is automatically and seamlessly encrypted with keys managed by Microsoft (service-managed keys). Optionally, you can choose to add a second layer of encryption with keys you manage (customer-managed keys).
Step 3: Add an Azure Key Vault access policy to grant permissions to the Azure Cosmos DB principal
Add an access policy to your Azure Key Vault instance
Step 4: Generate a new key in the Azure key vault
Generate a key in Azure Key Vault
Reference:
https://docs.microsoft.com/en-us/azure/cosmos-db/how-to-setup-cmk