See the explanation below.
Step 1: Create a new Azure Data Factory V2
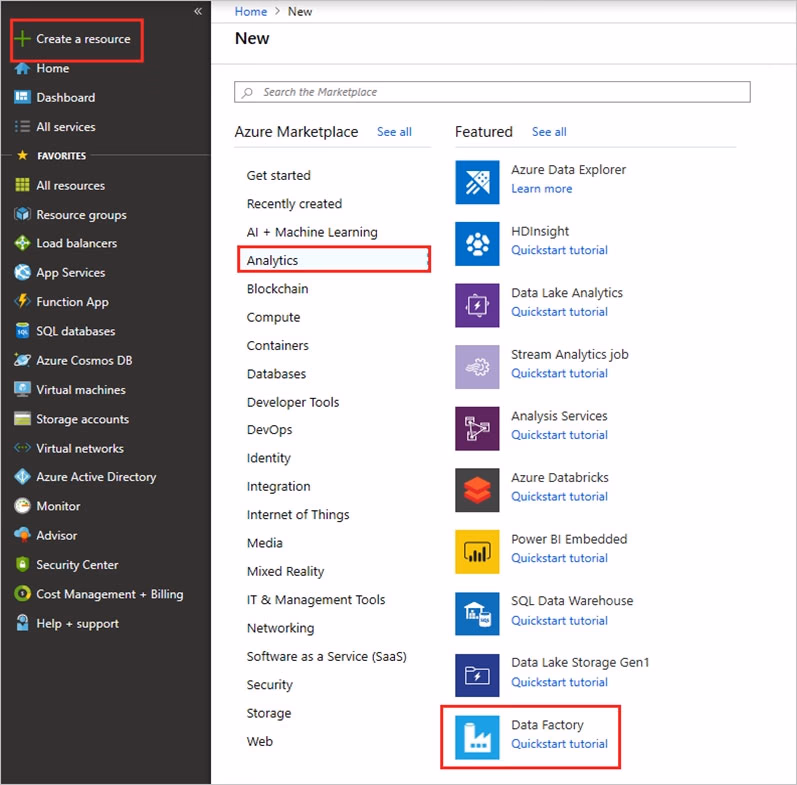
1. Go to the Azure portal.
2. Select Create a resource on the left menu, select Analytics, and then select Data Factory.
4. On the New data factory page, enter a name.
5. For Subscription, select your Azure subscription in which you want to create the data factory.
6. For Resource Group, use one of the following steps:
✑ Select Use existing, and select an existing resource group from the list.
✑ Select Create new, and enter the name of a resource group.
7. For Version, select V2.
8. For Location, select the location for the data factory.
9. Select Create.
10. After the creation is complete, you see the Data Factory page.
Step 2: Create a schedule trigger for the Data Factory
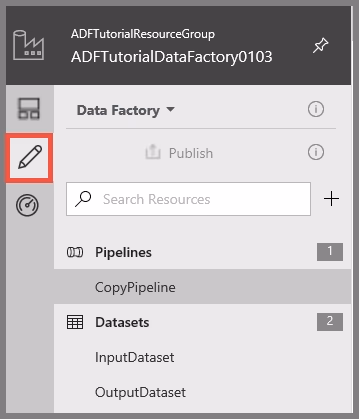
1. Select the Data Factory you created, and switch to the Edit tab.
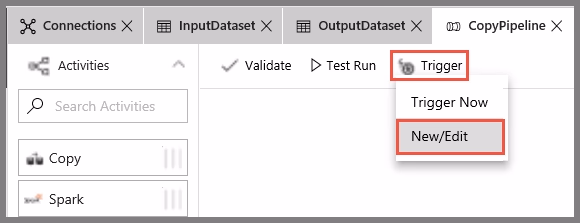
2. Click Trigger on the menu, and click New/Edit.
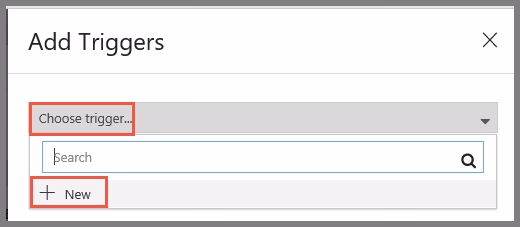
3. In the Add Triggers page, click Choose trigger..., and click New.
4. In the New Trigger page, do the following steps:
a. Confirm that Schedule is selected for Type.
b. Specify the start datetime of the trigger for Start Date (UTC) to: 24:00:00 c. Specify Recurrence for the trigger. Select Every Hour, and enter 2 in the text box.
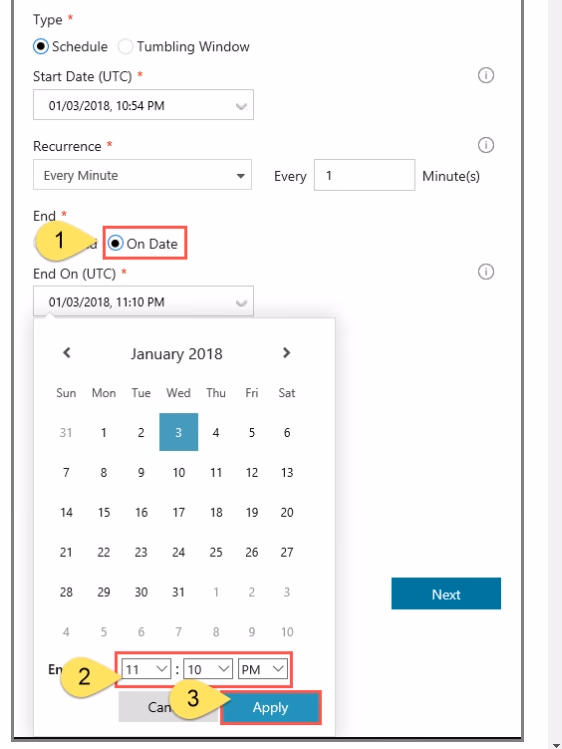
5. In the New Trigger window, check the Activated option, and click Next.
6. In the New Trigger page, review the warning message, and click Finish.
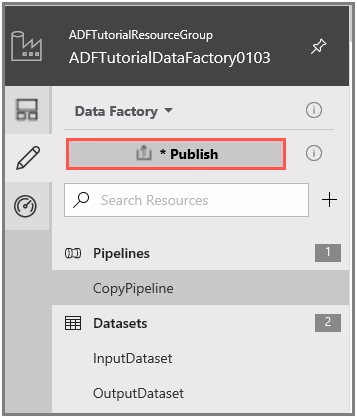
7. Click Publish to publish changes to Data Factory. Until you publish changes to Data Factory, the trigger does not start triggering the pipeline runs.
References:
https://docs.microsoft.com/en-us/azure/data-factory/quickstart-create-data-factory-portal https://docs.microsoft.com/en-us/azure/data-factory/how-to-create-schedule-trigger