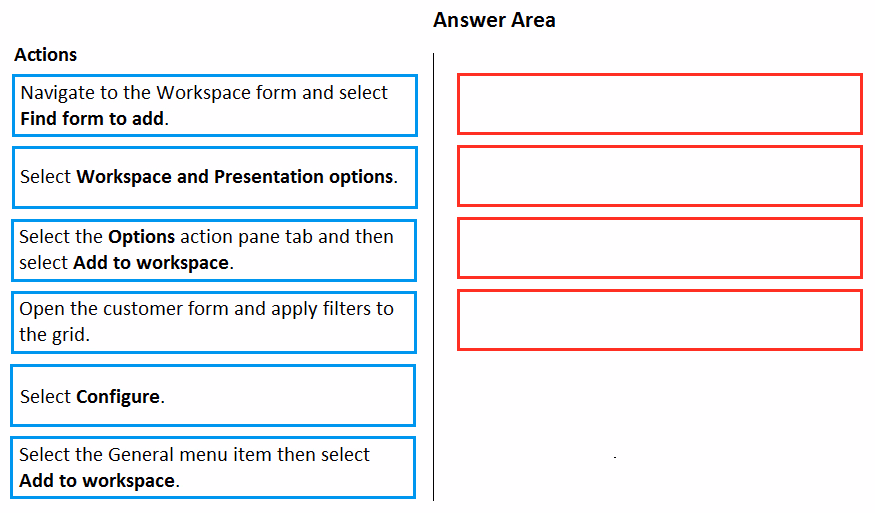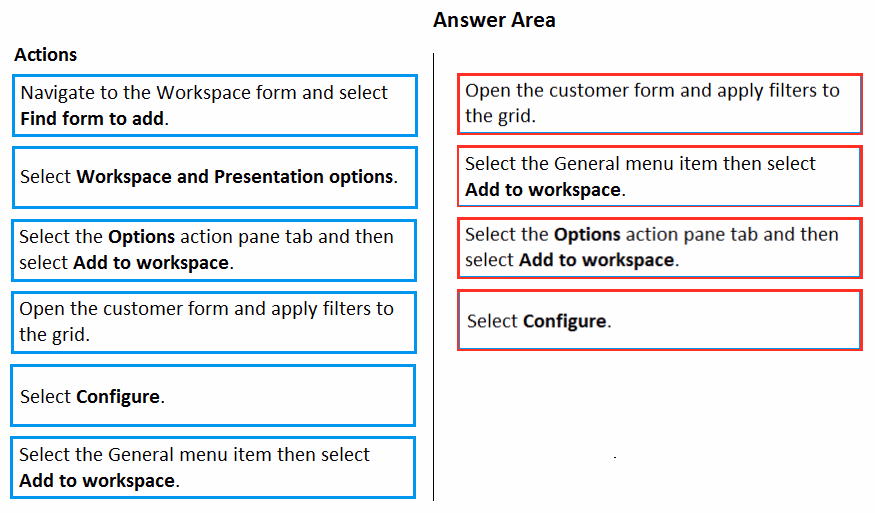
Step 1:Open the customer form and apply filters to the grid.
To add a list to a workspace, first sort or filter the list on the page so that it shows the information as you want it to appear in the workspace.
Step 2: Select the General menu item then select Add to workspace
This workspace will be selected in step 3.
Step 3: Select the Options actions pane tab and then select Add to workspace.
For some pages that include lists, the Add to workspace personalization feature is available in the Personalize group on the Options tab of the Action Pane. This feature lets you push relevant information from the current list to a specific workspace.

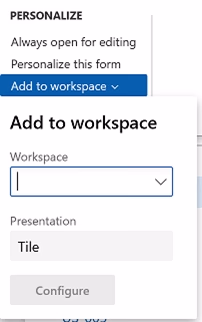
Step 4: Select Configure -
After you select Configure, a dialog box appears, where you can select the columns that should appear in the list in the workspace.
Reference:
https://docs.microsoft.com/en-us/dynamics365/fin-ops-core/fin-ops/get-started/personalize-user-experience